Teachers Kits
Bob has created Teachers Kits to have fun with!
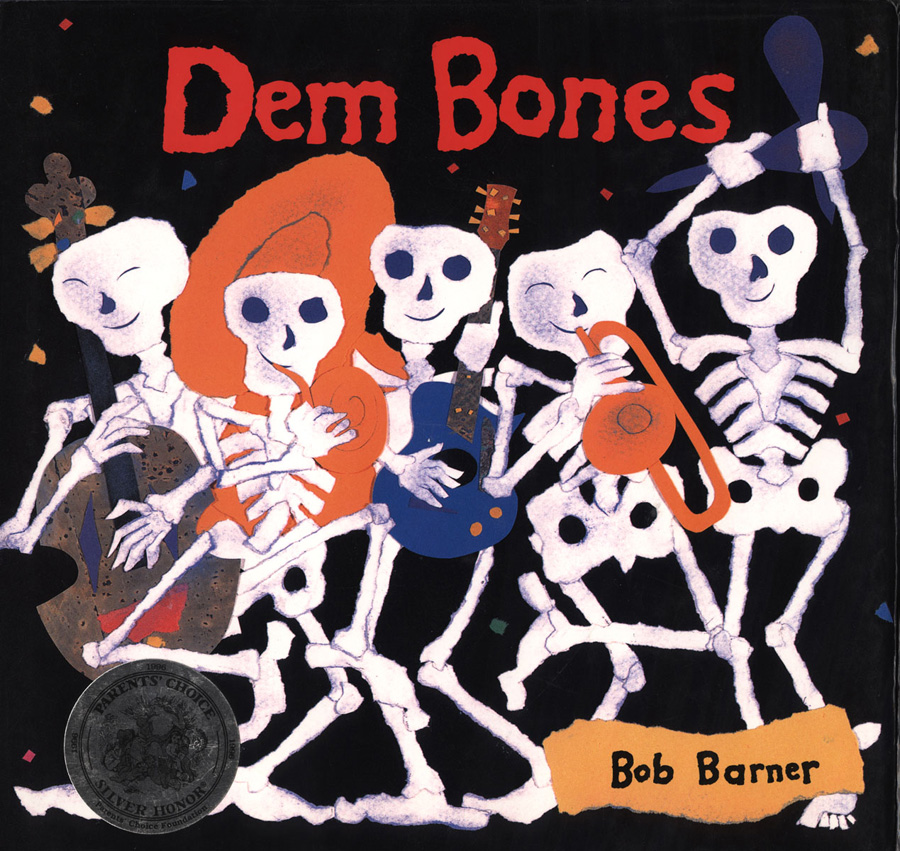
Dem Bones Activities
Music: All ages
Start with the music that inspired this award-winning picture book. Many versions of the song are available on tape or cd. Play the song and ask the children to touch each bone as it is mentioned in the song.
Music: Grades K
Distribute a number of devices to make bone sounds to the students. Assign each musician a bone to highlight with a special sound when their bone is mentioned. Example: Toe bone , click, connected to the foot bone, dong. Simple percussion instruments work best. Triangle, cymbals, bell, blocks, tom-tom, shaker, snapping fingers or clapping hands.
Art projects: Grades 1-3
Play the Dem Bones song and ask the students draw each bone as it is mentioned in the song. Do a practice piece when you play the song for the first time.
Collage Project: Grades 2-4
Study the collage art made for the Dem Bones illustrations. Have the students collect scrap papers, ribbon, foil, magazines, newspapers, feathers, buttons, glitter, postage stamps and fabric scraps at home for a week before this project. Supply construction paper, glue sticks and scissors. Ask each student to cut or tear enough bones to create their own skeleton. Reinforce that they can make great art out of almost anything. Even scraps that would have been thrown out at home.
Sorting Project: Grades K-1
Buy the small packages of Dem Bones candy. Each package contains enough bone shaped candy pieces to assemble a simple skeleton on a desktop. Alternate with a start at the top or bottom of the skeleton. The pieces may be glued in place on bright construction paper.
Buddy System: Grades 2-4
More difficult but with wonderful results.
Have one student lay down on a large sheet of brown kraft paper. Have the student’s buddy trace around his body. Cut out the tracing and make a second copy of the body shape. Staple along the outer edge of the cut out leaving a one foot long opening along the mid section of one side. Stuff the stapled cut outs with crumpled newspaper. Staple the remainder of the pieces together. Paint the stuffed shape with black paint. Let the project dry over night. The next day the student can cut or tear out bones from white paper and glue them on the black body shape. He will finish with a life size skeleton self portrait.
Fun reading of, Dem Bones, with rhythm section: All ages
Read through the entire book. On the last page you will see all of the skeletons from the book standing and performing the song. Hold this page open so all of the students can see the art. Ask them to snap or clap along as you point to the picture and call out each of the bones in order. Establish a cool jazzy beat with a slow tempo while you snap. Ask the students to join in. Snap, snap, snap, snap, toe bone connected to the foot bone, foot bone connected to the ankle bone. End with the head bone and ask the students to give themselves a round of applause.
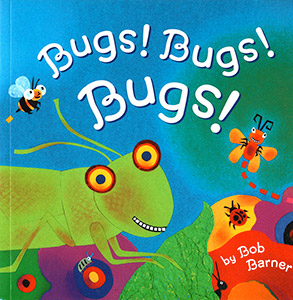
Bugs! Bugs! Bugs!
Reading game: Bug identification game
Hold the book overhead so all of the students can see it. Tell the class you would like to play a little game. You will read all of the words in the book if they will call out the name of the bug they see when you turn to each new page. Encourage all of the students to participate and not to worry if the get some of the names wrong.
Art Project: Draw a bug
Supply each student with a sheet of drawing paper, pencils, crayons or markers. Ask them to draw their favorite bug. Ask them how many legs their bug has. What does it eat? Where does it live? Can it fly? Does it sting?
Group art project: Working together
Use the bugs the students have drawn for the draw a bug project or make new bugs. Cut out each bug and ask the students to arrange them on a large sheet of paper or poster board. You may want to add flowers. Ask them to help you locate each bug. Ask which of the bugs are flying. Which bugs are walking on the ground. Which bugs are living underground and which bugs are feeding on the flowers.
Charting: Make a grid chart
Show the students the Bug-O-Meter at the end of the book. Ask them to make a simple grid and list a group of their favorite bugs. Draw a picture of each bug at the top of the chart. List a few interesting things about each bug. What does it eat? Where does it live? Can it fly? Does it sting?
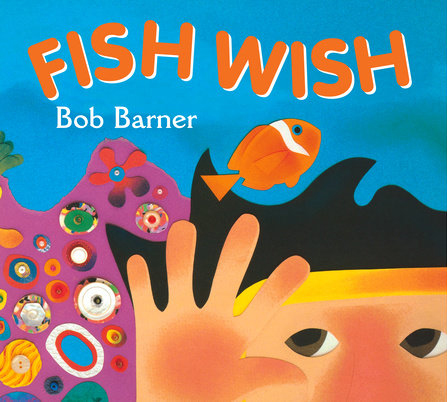
Fish Wish Activities
Art Project
Read the book or play the audio cassette while showing the illustrations in the book. Discuss the art and the materials used to make it. Each student can create a fish with construction paper and decorate it with beads, buttons, or other new or recycled materials. The completed fish can be arranged in a school on a bulletin board or large piece of poster board.
More Teachers Kits
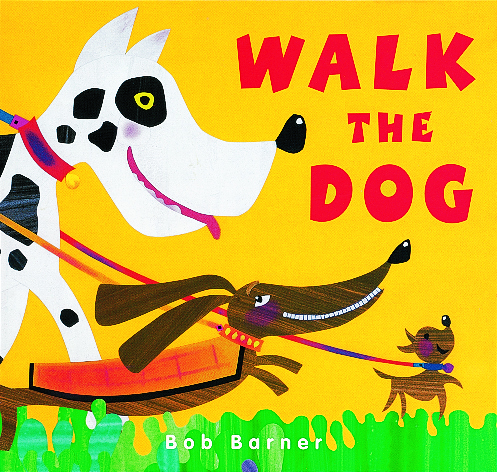
Walk the Dog Activities
Play project
This little play was performed for me while visiting a school in South Carolina and again in California. Let the students choose to play the part of one of the dogs in the book. Some students may play multiple parts if you have fewer than 26 students. All students chant, “Walk the dog,” while standing stage left Airedale, bulldog, chihuahua enter stage left. All students chant, “Walk the dog,” then the d,e,f dogs enter. Continue until all of the dogs have barked their way on stage. The students who performed for me chose to do so on all fours complete with paper dog ears they had made with construction paper.
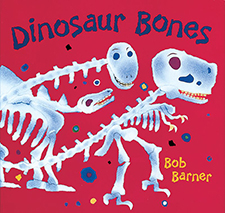
Dinosaur Bones Activities
Fun Facts
Step 1. Let each student draw their favorite dinosaur.
Step 2. Cut or tear out bones for the dinosaur. Ask the student to write a description of their dino. What it ate, how much it weighed, how long it was and when it lived.
My experience has been that students will easily fill the page with very accurate dinosaur facts.
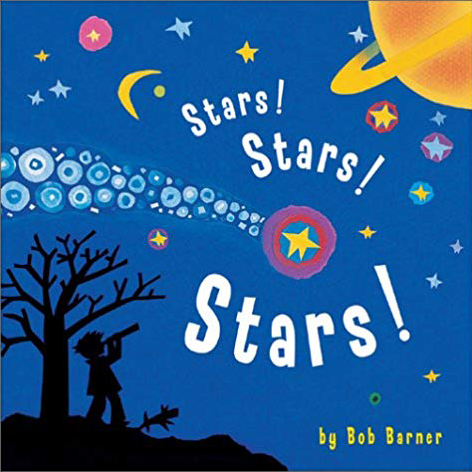
Stars! Stars! Stars! Activities
Constellation project
Ask each student to create their own constellation using stars they make arranged on on black paper. They can make a star tribute to their dog or school.
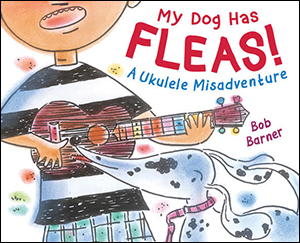
My Dog Has Fleas! Activities
Learn to play the ukulele!
Download and print the My Dog Has Fleas booklet and learn how to play the ukulele! To make the booklet, make sure to print double-sided and have “flip on the short edge” checked.

